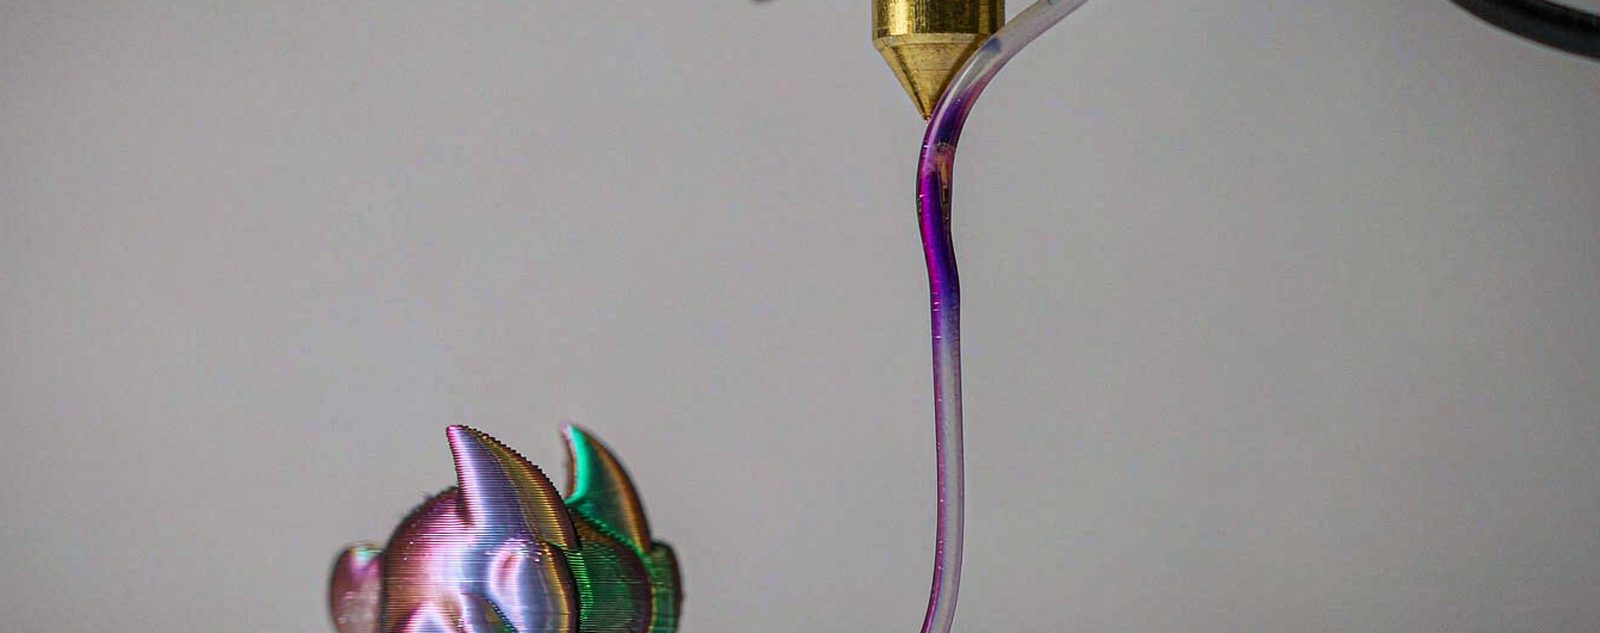
Effect pigments do work in 3D printing — but the process decides which chemistry you can use. Mica, glass-flake, chameleon, metallic and glow pigments are inorganic platelets and survive FDM extrusion at 200–260 °C. Thermochromic and photochromic pigments are microencapsulated and do not: extrusion heat and shear rupture the capsule wall. Thermochromic grades can go into SLA/DLP resin or a post-print coating. Photochromic grades should go into a post-print coating only — 405 nm cure light is the very wavelength that drives them, so a printed part both starts coloured in the vat and loses sensitivity after weeks of cure exposure. Match D50 to your nozzle — 15–20 µm on a 0.4 mm nozzle, since a platelet needs roughly one fifth of the orifice — and hold loading at or below 3 % in filament and 2 % in resin. Confirm every figure with a test print on your own hardware.
Printing a part in its finished colour removes a whole downstream step: masking, spraying, curing and the scrap rate that comes with them. For short runs and customised parts that economics is decisive. A spool of effect filament costs more per kilogram than plain PLA, but it deletes the paint line.
The two buyers in this market ask different questions. Filament compounders want dispersion, heat stability and a predictable let-down ratio. Print shops and OEMs want a colour that survives handling and still looks like the render. This guide answers both.
FDM melts a thermoplastic and pushes it through a hot end at 190–260 °C under high shear, then freezes it in seconds. Vat photopolymerisation — SLA, DLP, LCD — cures a liquid resin with UV, layer by layer, at room temperature. The pigment sees completely different conditions in each case: one is a hot, shearing melt, the other a cold, UV-scattering liquid. A pigment that is ideal for one can be useless in the other, and no amount of formulation skill changes that.
| Pigment family | FDM | SLA / DLP | Why |
|---|---|---|---|
| Pearl — natural or synthetic mica | ✓ | ✓ | Inorganic platelet; stable far above any hot-end temperature. |
| Chameleon / optically variable | ✓ | ✓ | Same flake chemistry; angle-dependent colour from one nozzle. |
| Borosilicate glass flake | ✓ | ✓ | Best clarity in transparent parts; premium cost. |
| Aluminium powder | ◐ | ◐ | Prints, but the platelets can make the part conductive. |
| Bronze powder | ◐ | ◐ | Prints; darkens because it tarnishes at melt temperature. |
| Fluorescent / neon | ◐ PLA | ✓ | Organic dye degrades above roughly 230 °C. |
| Glow in the dark | ✓ | ◐ | Heat-stable aluminate; keep D50 ≤ 45 µm. |
| Thermochromic | ✗ | ◐ | Microcapsules rupture under extrusion shear and heat. |
| Photochromic | ✗ | ✗ | 405 nm cure light is the pigment's own trigger — the part fades within weeks. |
| PET glitter | ✗ | ✗ | Film softens near extrusion temperature and clogs the nozzle. |
Legend: ✓ recommended, ◐ usable with the stated caveat, ✗ not recommended.
The dividing line is not colour, price or brand. It is whether the pigment is an inorganic crystalline platelet or a microencapsulated organic system. Mica, synthetic mica, glass flake, aluminium, bronze and rare-earth aluminate are solids whose melting points sit far above any printer's hot end. Thermochromic and photochromic pigments are a leuco dye, a developer and a solvent sealed inside a polymer capsule one to ten micrometres across.
That capsule is the product. Push it through an extruder at 230 °C and the wall fails. The dye leaks into the polymer matrix, and the colour change becomes irreversible, sluggish, or simply stops. If a supplier offers you a heat-sensitive FDM filament, ask for capsule-integrity data — calorimetry before and after extrusion, not a photograph of a colour change.
A nozzle is a filter. The rule you will find quoted everywhere — largest particle under one third of the orifice, roughly 130 µm on a 0.4 mm nozzle — was written for near-spherical fillers. Platelets behave worse than spheres: they arrive flat and bridge the melt channel two or three at a time. For mica, glass flake and aluminate, keep the largest platelet under one fifth of the orifice — about 80 µm on a 0.4 mm nozzle. Because D50 is a median and it is the coarse tail that clogs, that works out at a D50 of 15–20 µm for dependable daily printing on a 0.4 mm nozzle; 30 µm and coarser belongs on a 0.6 or 0.8 mm nozzle. Treat every figure here as a starting point and confirm it on your own hardware with a test print — printer, filament and pigment batch all shift the limit.
| Process | Critical dimension | Recommended D50 | Loading start | Note |
|---|---|---|---|---|
| FDM, 0.4 mm nozzle | 400 µm orifice | ≤ 15–20 µm | 1–3 % | Largest platelet under one fifth of the orifice (≈ 80 µm). |
| FDM, 0.6 mm nozzle | 600 µm orifice | ≤ 50 µm | 1–3 % | One fifth of the orifice is ≈ 120 µm — confirm by test print. |
| FDM, 0.8 mm nozzle | 800 µm orifice | ≤ 60 µm | 1–3 % | One fifth of the orifice is ≈ 160 µm — confirm by test print. |
| SLA / DLP / LCD resin | 35–50 µm pixel | ≤ 25 µm | 0.5–2 % | Raise exposure 10–30 %; stir the vat before printing. |
| Post-print coating | — | 5–25 or 10–60 µm | Per system | Easiest route; best control of the effect. |
In resin the constraint shifts rather than relaxes. There is no orifice, but there is a 35–50 µm pixel and a 25–100 µm layer. Platelets larger than the layer thickness bridge across layers and read as specks instead of a smooth effect. And because flake scatters UV, adding pigment lengthens the cure: expect to add 10–30 % exposure time, and to stir the vat before every print, because dense inorganic flake settles.
Platelets are flat and pack face to face. At high loading they form barriers between layers and cut the polymer bridges that carry load. In filament the practical ceiling is around 3 %; in resin, around 2 %. Above that, impact strength and interlayer adhesion drop measurably, and the part fails at a layer line rather than in the bulk.
Test before you commit. Print a 20 mm cube for colour, a flat plaque for surface, and a 5 mm bar for adhesion, at your intended loading — then break the bar. That is cheaper than discovering the limit on a customer's order.
Most failures that look like "bad pigment" are bad dispersion. Stirring powder into pellets leaves clusters that survive the extruder as visible specks and as partial nozzle blockages. Pre-disperse into a carrier masterbatch at 20–40 % and let down from there. Dry the pigment and the resin before compounding as well: moisture plus platelets gives voids and silver streaks, which are easy to blame on the pigment and impossible to fix downstream.
An FDM surface is a staircase. Pearlescent platelets lying parallel to the surface scatter incoming light across the steps, which softens the visual edge of each layer and reduces the sanding a part needs. It is a real optical benefit, and it is the reason satin pearl filament photographs so well.
It is not a substitute for a smaller layer height. The geometry is still there — you have only made it harder to see. If a customer needs a genuinely smooth surface, the answer is layer height and post-processing, with pigment as a supporting effect rather than the fix.
There is a third route that sidesteps the nozzle and the hot end entirely: print in a plain filament or resin, then put the effect pigment on the finished surface as a coating, dip or spray. The pigment never enters the extruder, so capsule integrity, platelet size and loading limits stop being constraints. Particle size is set by your coating thickness and finish instead of by an orifice — a 20–60 µm platelet in a clear coat gives a stronger flip than the same pigment at 3 % in filament.
For microencapsulated colour-change chemistry this is not a fallback, it is the dependable route. Thermochromic capsules survive a two-component clear coat; photochromic capsules survive a coating as well, but not 405 nm cure light, so on a UV-cure topcoat use a thermochromic grade or an aluminate glow pigment rather than a photochromic one. Neither family survives 230 °C and extruder shear. Coat the finished part and the effect behaves as it does on paper or film.
Three practical rules. Keep the coat thin — 15–40 µm dry film gives hiding without dulling the flip. Use a clear binder that wets the printed surface; on PLA and PETG a light scuff or a primer is enough. And check the carrier: water-based and mild-solvent systems are the friendliest to capsules, while aggressive solvents attack the wall. Where the part must hold a fit, coat first and re-check tolerances — 30 µm per face is enough to change a press fit.
We send 5–10 g samples because that is enough to answer a real question. A protocol that has worked for our customers:
Four documented data points are worth more than any swatch book, including ours.
Industrial grades are not food-contact or cosmetic grades, and the distinction matters even when the finished part never touches food. For each shipment we can supply TDS, SDS and, where relevant, REACH documentation under NDA. Heavy-metal content in the optically variable series stays within regulatory limits.
The short version: most effect pigments print, the microencapsulated ones do not, and particle size matters more than the colour name on the label. Tell us your process, nozzle and target loading, and we will send the matching particle-size band rather than a generic sample.
Yes. Mica-based pearl grades are inorganic platelets and survive PLA, PETG and ABS extrusion. Use a D50 around 10–25 µm and load 1–3 %, and pre-disperse into a masterbatch rather than dry blending.
The active chemistry sits inside a polymer microcapsule roughly 1–10 µm across. Extrusion heat and shear rupture that wall, so the colour change degrades or stops working. Use thermochromic pigment in SLA/DLP resin or in a post-print coating instead.
Start at 1 % and titrate upward. Most pearl and chameleon effects land between 1.5 % and 3 %. Above about 3 % impact strength and layer adhesion drop measurably.
It softens the appearance of layer lines because platelets scatter light across the steps. It does not change the geometry — reduce layer height if you need a genuinely smooth surface.